
Sales tax made simplier.
Global sales tax platform powered by AI and tax experts.
E-commerce is booming like never before. Last year, mobile sales alone pulled in a cool $431 billion. And it’s not stopping there—by 2026, we’re expecting about 8.7% of all retail transactions in the U.S. to happen through mobile commerce. Plus, this year, online retail sales in the U.S. are on track to hit a staggering $1.14 trillion, marking a 10% jump from last year.
With all this growth, getting sales tax right is more than just dotting i’s and crossing t’s– it’s crucial for keeping things transparent and straightforward with your customers. It helps you steer clear of any legal hassles and lets your customers know exactly what they’re paying up front.
That’s where Shopify comes into play. It’s a powerhouse for anyone looking to get into e-commerce, whether you’re starting from scratch or scaling up. Shopify doesn’t just make sales tax management a breeze, it also keeps your shop running smoothly so you can focus on bigger things, like growing your business and boosting customer satisfaction.
We’re going to walk through how to add sales tax on Shopify and set your store up to manage sales tax without a hitch, making sure every transaction is accounted for and every shopper leaves happy.
Understanding Sales Tax Basics
So, what is sales tax? It’s that extra bit of money tacked on to the price of items when you check out, both in stores and online. Sales tax is a big deal in e-commerce because it’s not just about adding a fixed percentage to every sale. Depending on where your customers are, you might need to charge different tax rates. This keeps things fair, but can make things a bit tricky for online sellers who have customers all over the place.
Nexus and Its Implications
Now, onto “nexus.” This term basically means a business’s connection to a state that requires them to collect sales tax from customers in that state. If you’ve got a warehouse in Texas, a team in Florida, or you make enough sales in California, each of these can create a sales tax nexus.
And here’s where it gets complicated – each state has its own rules about what counts as a nexus. For example, some states look at your sales figures, and if you’re raking in big numbers, you’ll need to collect sales tax from buyers in that state. This means you’ve got to stay sharp on the nexus rules for each state where you do business, which keeps everything on good terms with the tax man.Keeping track of all this can seem daunting, but it’s all part of making sure your shop runs smoothly and stays compliant with state laws. As we dive deeper into setting up your Shopify store, keeping these basics in mind will help you understand the process of understanding how to collect and how to pay sales tax for your Shopify store.
Preparing Sales Tax Setup in Shopify
First up, you need to figure out where you actually need to collect sales tax. This step is crucial because you don’t want to be caught off guard by tax laws. Start by checking out where your business has a physical presence, think offices, warehouses, or employees. These spots likely create a nexus, meaning you’ll need to collect sales tax from customers in those states.
But don’t worry, you don’t have to go it alone. Shopify sales tax automation tools out there can help you track where you’ve got tax obligations. Shopify’s own tax reports, for example, can help you see where your sales are buzzing and where you might need to start collecting tax. Plus, sales tax automation software like Zamp can take a lot of the guesswork out of the equation by automatically updating your tax settings based on where you’re doing business.
Documenting Your Business Setup
Your business structure and where you’re located can also affect your sales tax rates. Whether you’re a sole proprietorship or a big LLC, and whether you’re based out of New York or Nevada, can affect how much tax you need to charge. It’s all about the details here.
Keeping accurate records is more than just good housekeeping. It’s your safety net to ensure you’re charging the right tax rates and staying compliant. Detailed records help you track every transaction and justify your tax collections if you ever face a sales tax audit (which we hope you won’t!). Make it a habit to regularly update your business documentation and review your sales data; your future self will thank you.
By nailing down your tax obligations and keeping your business records tight, you’re setting yourself up for success in Shopify’s world of e-commerce. Now, with the groundwork laid, you’re ready to dive into the nuts and bolts of configuring your tax settings.
Configuring Tax Settings in Shopify
Automated vs. Manual Tax Setup
Setting up taxes in Shopify can be a breeze or a puzzle, depending on which route you take—automated or manual.
Automated Tax Calculations are like your smart assistant; they handle everything tax-related based on your store’s settings and the latest tax rules.
The biggest perk? It saves you a ton of time and keeps things super accurate. You won’t have to worry about updating tax rates manually or making a mistake. On the downside, relying completely on automation might leave you a bit out of the loop on the specifics, especially if there are exceptions or special tax rules you need to know about.
Manual Tax Setup, on the other hand, gives you full control. You set the rates based on your understanding of local tax laws, which is great if you’re into details and customized setups.
The catch? It’s very time-consuming and you’ve got to stay sharp on updates to tax laws to avoid errors.
If you decide to go manual, here’s how to set it up in Shopify:
1. Head to your admin panel and click ‘Settings’ then ‘Taxes’.
2. Choose the region and start adding your tax rates for each area you do business in.
Setting Tax Rates by Region
Whether automated or manual, sometimes you need to get into the nitty-gritty of regional tax rates. Here’s a quick guide to adding them:
1. Add a New Tax Region: In your Shopify settings, go to the ‘Taxes’ section and select ‘Add a country or region’. Choose where you want to set up a new tax rate.
2. Enter the Tax Rates: For each region, you’ll input the standard rate. If there are special rates for specific products or areas within the region, you’ll add those too.
3. Save Your Settings: Always double-check your entries and save.
Handling regional variations is key because not all places charge the same rates, even within the same country. For instance, U.S. states can have different rates, and even cities or counties might add their own twist.
By getting your Shopify store’s tax settings dialed in correctly, you’re ensuring that every sale meets legal standards and your customers see the correct prices at checkout. This part might be a bit technical, but it’s absolutely essential for keeping your shop on point and your transactions smooth.
Tax Collection at Checkout
Product Taxability Settings
Does Shopify collect sales tax? Let’s talk about making sure all your products are set up right for tax collection. It’s super important to tag each product correctly in Shopify to ensure you’re collecting the right amount of sales tax. Here’s how you can keep everything in check:
1. Mark Products for Tax: Jump into each product’s details in your Shopify dashboard. There’s a section where you can tick a box to indicate whether tax should be collected on that product.
2. Exempt Products: Some items might be tax-exempt depending on local laws (like essential groceries or books in some regions). For these, you’ll want to make sure they are marked appropriately to avoid charging tax where you shouldn’t.
Getting this part right means fewer headaches when it comes to tax time, and it keeps your customers from being overcharged.
Shipping and Handling Taxes
Now, onto the shipping. Should you charge tax on shipping costs? Well, it depends on the laws in each state or country where you’re selling:
1. Decide to Charge Tax or Not: Some places require tax on shipping fees, while others don’t. Check local regulations to see what applies to your sales.
2. Setting Up in Shopify: If you do need to charge tax on shipping, Shopify makes it easy. Just go back to your tax settings, find the shipping section, and you can set it to automatically add tax to shipping charges based on your customer’s location.
Making sure you apply taxes correctly to shipping charges not only keeps you compliant with tax laws but also ensures transparency with your customers, helping them see exactly what they’re paying for every part of their purchase. By nailing down these settings, you ensure every checkout is smooth and legally compliant, letting your customers shop with confidence.
Ongoing Management and Compliance
Maintaining Tax Compliance
Keeping up with sales tax compliance is like tuning a guitar, do it regularly, and everything sounds just right. For online sellers, this means staying on top of changes in tax rates and rules, which can vary by region and change frequently. Here’s how to keep everything in tune:
1. Regular Updates: Make it a habit to check for updates in tax regulations in the areas you sell to. This can be a bit of a chore, but it’s essential to avoid charging wrong rates.
2. Shopify Reports: Use Shopify’s reporting features to keep track of sales and taxes. These reports are gold when it’s time to file taxes or if you need to review your compliance status. They help you see exactly what’s been collected and where, making
Utilizing Third-Party Tax Compliance Tools
While Shopify has robust tools to help with tax compliance, sometimes you need a bit more firepower. This is where third-party tax compliance tools come into play:
1. Overview of Tools: Sales tax software for ecommerce, like the one offered by Zamp, can integrate seamlessly with Shopify and automate much of the tax compliance process – from calculating taxes based on the latest rules to filing tax returns.
2. Benefits of Integration: By integrating sales tax software into your Shopify store, you can automate almost all aspects of tax management. This will not only save you time but also reduce the risk of errors. Plus, the software is continuously by tax professionals, so you’re always aligned with the latest tax laws.
Integrating these tools into your Shopify setup means you can spend less time worrying about taxes and more time growing your business. They handle the heavy lifting of tax compliance, letting you focus on growing your business.
Well, we’ve covered a lot of ground on setting up sales tax in Shopify! Here’s a quick wrap-up of the key steps you should follow:
1. Understand the Basics: Get to know what sales tax is and how nexus affects your business.
2. Prepare Your Setup: Identify your tax obligations and keep your business documentation sharp.
3. Configure Your Tax Settings: Choose between automated or manual setups and set tax rates by region.
4. Handle Taxes at Checkout: Ensure all products are correctly marked for sales tax collection and decide if you need to charge tax on shipping.
5. Manage and Stay Compliant: Regularly update your tax settings and consider using third-party tools for better compliance.
And remember, tax regulations can change quite frequently, so staying on top of these changes or partnering with a full service sales tax solution ensures your store remains compliant and avoids potential fines.
Lastly, while Shopify makes tax management relatively straightforward, some situations can get complicated. If you ever find yourself in a tax pickle, don’t hesitate to consult with a sales tax expert. They’re the experts who can offer tailored advice for your specific situation and help keep your store on the right track.
Setting up your sales tax correctly from the start saves you a lot of time and hassle down the road. Take the time to set it up right, and you’ll be on your way to running a smooth and successful online store.
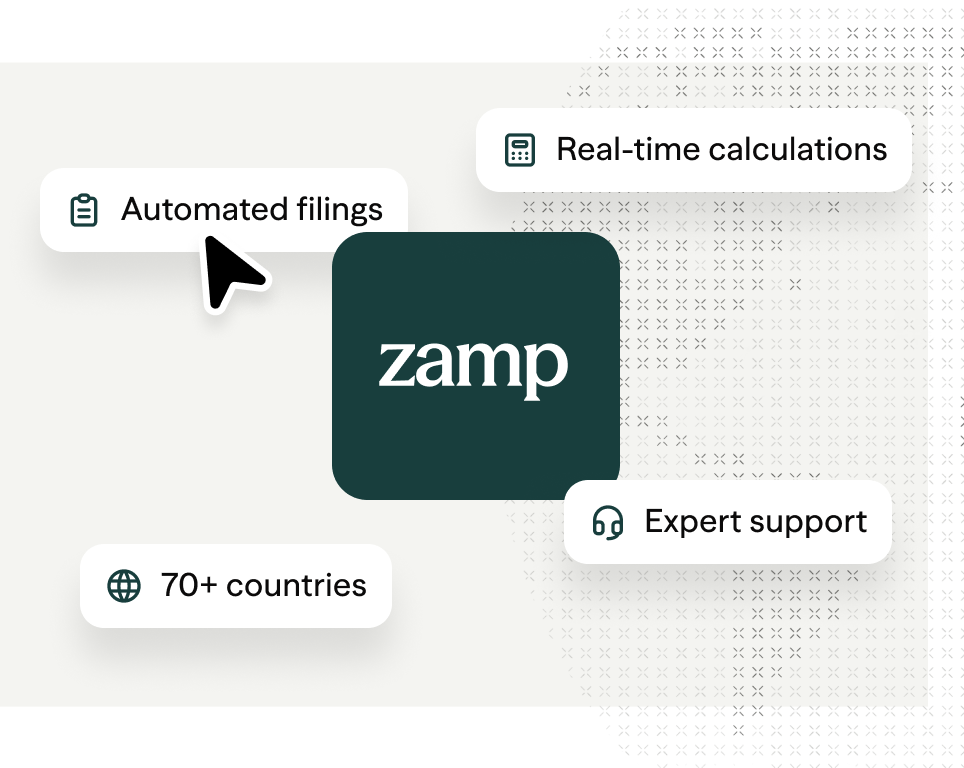
Why Choose Zamp?
Zamp offers a fully managed sales tax solution, handling everything from onboarding to adapting to future changes in sales tax regulations. Our automation lets you concentrate on your core business, secure in the knowledge that we’re ensuring full compliance with all sales tax laws. Zamp stands for accuracy and reliability, offering peace of mind that your business will remain compliant and free from the complexities of sales tax management.
Ready to experience freedom from sales tax headaches? Schedule a demo with Zamp today and discover how our solutions can streamline your operations. With Zamp by your side, you’ll never have to worry about sales tax again. Get in touch with our team of experts today.